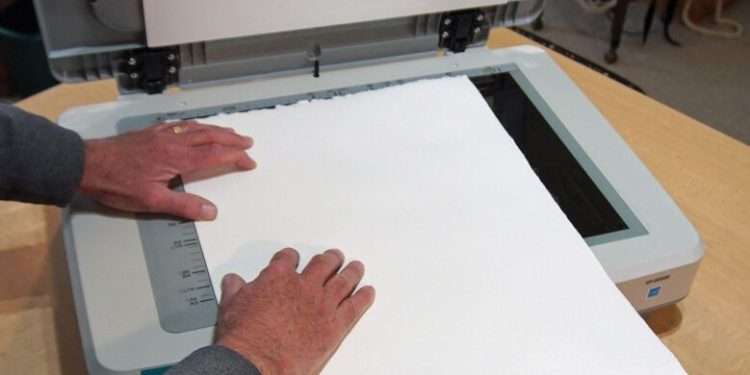
If photographing your watercolors yields lackluster results, try scanning instead.
by Mark McDermott
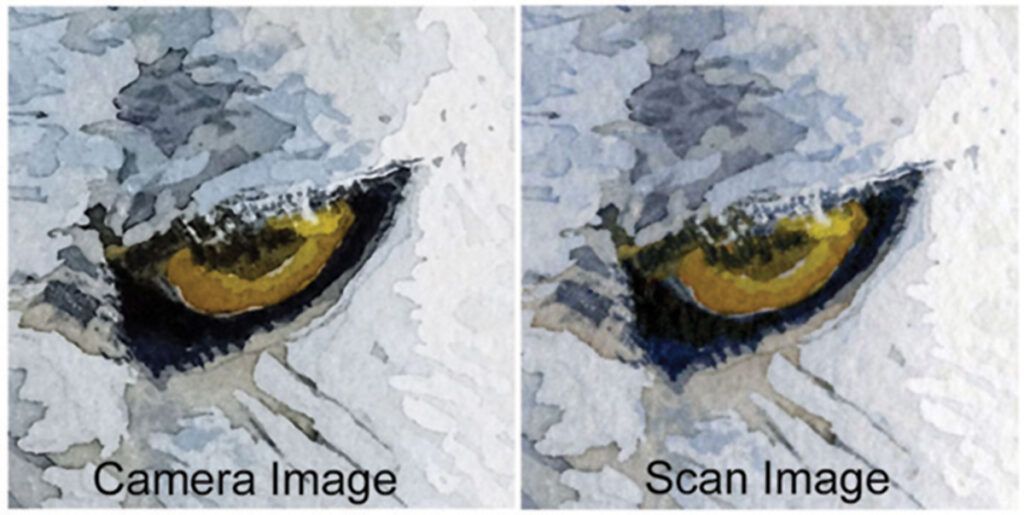
I’ve been a serious photographer for about 50 years. I own good, midrange cameras and lenses—and I know how to use them. I own studio lighting with sunlight color temperatures, complete with stands and diffusion umbrellas. I have ample studio space. In short, I have all the equipment and knowledge necessary to do a thoroughly competent job of digitally photographing my watercolor artwork in my home studio. Yet I choose to scan my art rather than photograph it. Why? The simple answer is that I find it much easier to do. It’s faster, requires fewer manipulations and corrections, and yields consistently excellent results.
How I Use My Scanned Images
I make a scan of my painting as the next step after signing my name. I scan everything I complete, which is typically about 35 half-sheet (15×22) paintings per year. The images then get uploaded to my website and online database, as well as stored in a backup folder on my computer. I use low-resolution images on my website and high-resolution versions for entering juried watercolor exhibitions and publications. Good quality digital images also allow me to make prints.
Scanning Large Artworks
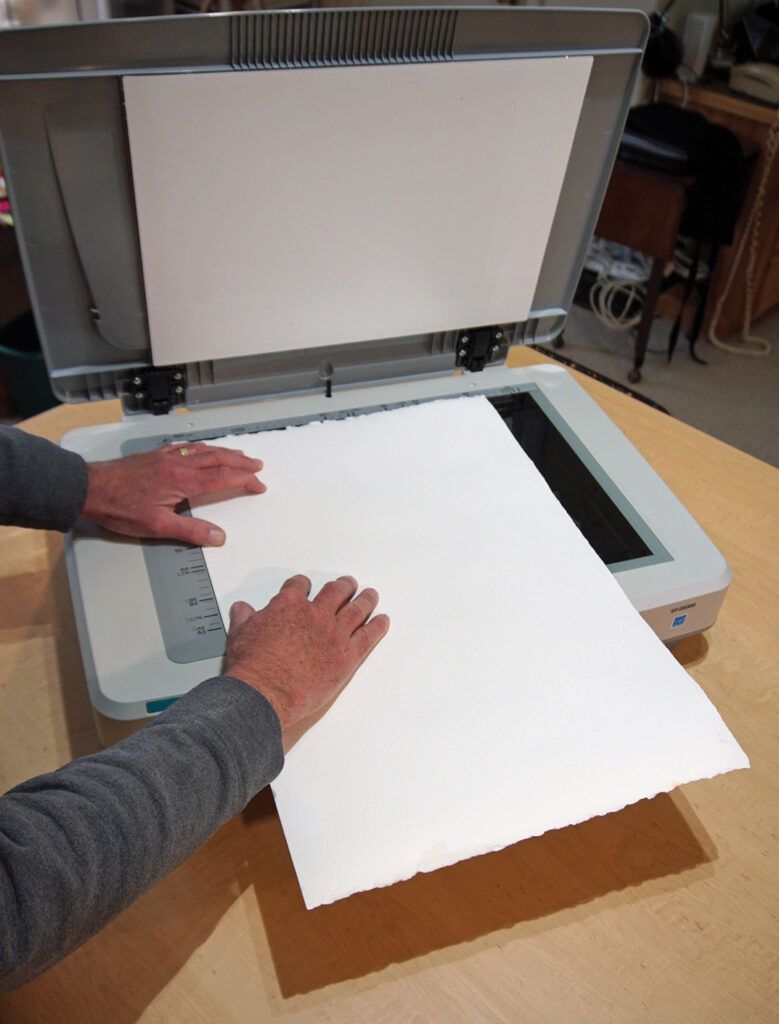
I use an Epson GT-20000 11×17 flatbed scanner, the Epson Scan software that came with the scanner and Photoshop Elements. Since my paintings are typically 15×22, I scan them in two halves and merge the two overlapping images using the Photoshop Elements Photomerge tool. It takes me about 10 minutes from start to finish.
The larger 11×17 scanner is useful for reducing the number of scans required to cover a larger painting. A smaller scanner (8 1⁄2 x 11) would simply require more scans with sufficient overlap to cover an entire half sheet of watercolor paper, but the Photomerge tool handles this situation very well. The largest piece I’ve ever scanned was a 26×50-inch painting scanned and merged in 10 pieces (see Anchorage Skyline, above).
The GT-20000 has two very useful features for scanning oversize artwork. The lid is removable, allowing the original to be placed on the scanning surface in any position. The scanning surface is also flush with the frame of the scanner so the painting will lie completely flat on the scanner. For stiff paper, such as the 300-lb. cold-pressed that I use, any significant gap between the paper and the glass scan surface will blur the image. This “edge effect” can be overcome by increasing the size of the overlap area.
Resolution
The Epson Scan software has all the controls I require for image acquisition: cropping, scanning density and exposure control. I scan at either 200 or 300 dpi, depending on the size of the original and how detailed the original is. I find that anything over 300 dpi increases the file size and scanning time with no appreciable benefits. Watercolor paintings, unlike photographs, aren’t typically detailed enough to require extreme resolution. Although I should use a TIFF because it’s a “lossless” file (meaning it loses no quality after having been saved and edited, even multiple times), I’ll admit I often use JPEG and have never regretted it.
Splicing Images
Once the partial and overlapping scans of a large-size watercolor are acquired, they need to be spliced. There are many inexpensive and even free software tools for making panoramas from overlapping photos. Some require that you manually pick registration points in each image that the software will use to register the images, which is cumbersome and time consuming. Some do a poor job of balancing the color and exposure of the various pieces, which is a nightmare to do manually. A requirement of 50 percent overlap is not uncommon.
The Photomerge tool in Photoshop Elements automates all of these potential issues and produces remarkably good results. The partial scans have to be in the same general orientation, but they can be slightly skewed from each other, have slightly different exposures, and can be entered in any order. I typically use only a 2-inch overlap. The vast majority of the time, the results are seamless and quick. There’s no reason to look at any other photo-stitching tool.
Once the merged image is complete, I then use Photoshop Elements to crop the uneven edges and do slight exposure adjustments to match the original. A big advantage of using Photoshop Elements is that it’s so popular, there are abundant and help- ful how-to videos and articles on any topic just an internet search away.
If you’ve been frustrated with the effort required to photograph your watercolors or you pay a professional to do it, you might want to consider scanning. If you already have a scanner at home and Photoshop Elements, give scanning a try.
Don’t Have a Scanner?
If you don’t have a scanner at home, you can bring your original watercolors to an office supply store, such as Fed-Ex, Kinkos or OfficeMax, and scan them there. Both locations use HP Designjet T3500 printer/scanners, which accept paper up to 36 inches wide. You just need a credit card and a USB drive. The employees are happy to help you, but the operation is all screen-selection driven, step by step, and pretty straightforward.
You can scan to a resolution as high as 600 dpi and save in both TIFF and JPEG formats to your USB drive. The big advantages are ease and cost. A 22×30 sheet of watercolor paper will cost $10 to scan, a half sheet will cost $6. The drawbacks are significant, however. These aren’t flatbed scanners, which means the paper is fed through a 45-degree bend into the collection area. This in no way damages a piece of watercolor paper, however the drive mechanisms shut off if they detect too much resistance. The result is that any paper with a weight of more than 140 lbs. won’t feed. Since I use 300-lb. paper almost exclusively, this option won’t work for me.
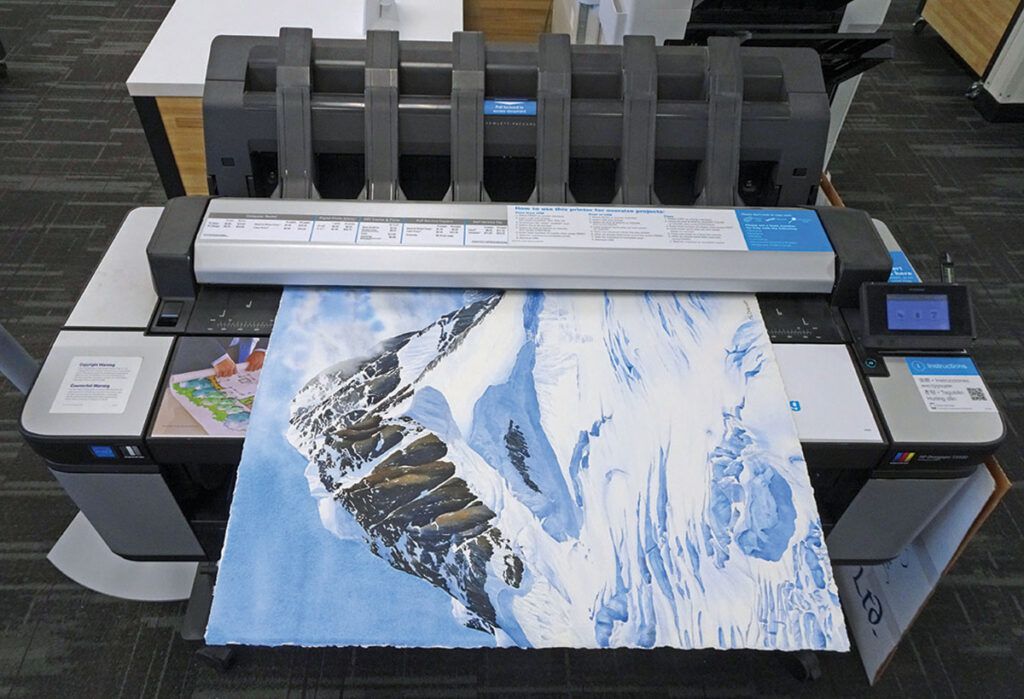
Another drawback is that the controls for exposure and color control are nonexistent. You’ll have to do some cleanup at home with Photoshop Elements or an equivalent program. My limited experience was that the results were slightly overexposed, and 600 dpi was required. However, after doing some minor cleanup at home, the scan was acceptable.
If you’re only doing a few scans per year, aren’t interested in making the investment for a home scanner and, most importantly, not using heavyweight paper, this might be an option well worth your investigation and consideration.

Mark McDermott (markmcdermottart. com) worked as a geophysicist in remote parts of Alaska and then as an IT Manager before he began painting full time in 2010. His favorite subjects are Alaskan landscapes and images captured from his travel and nature photography. His work has won awards in numerous juried shows and has been featured in the Splash competition series. He’s a Signature Member of the Transparent Watercolor Society of America and Watercolor USA.
A version of this article appears in the Winter 2023 issue of Watercolor Artist Magazine.
Published at Mon, 09 Jan 2023 21:01:35 +0000
